Page with info about my laptop and JS function for process JSON's with Spotify playlists
This is not very logical, but it still makes sense to place a log of personal computer components on the main page.
In my case, this is the hwinfo64 log.
Using a simple line in crontab(* * * * * stat -c \%w $HOME/site/files/log1.CSV > $HOME/site/files/date.txt) on the server, the date the log was edited is displayed.

Also homepage contains function for process the JSON files with Spotify playlists. This is just a placeholder, but useful for those who want to convert their playlists into a readable text format using code that anyone can understand. If you have a direct link to JSON (for example, to github), then you can process your playlists.

Index of files in directory with same name
Sometimes there are situations when you want to be able to open the necessary file in just a couple of seconds on any device. It's easy if you have access to some file storage right on the site.
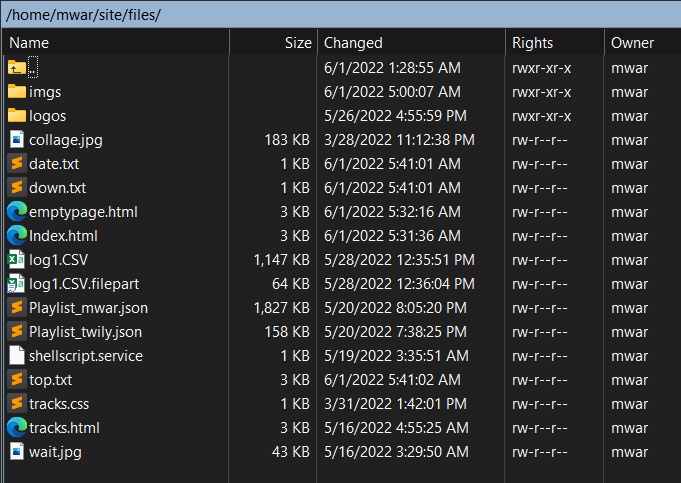
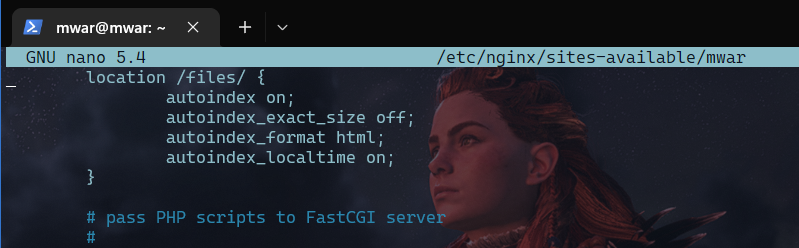
This is possible with a simple configuration of NGINX by using auto-indexing of files in the required directory.
This page output top command on server twily.name at the beginning of the current minute
The section is added to be able to conveniently monitor the status of the server from any device.

This is possible thanks to the "* * * * * last -x shutdown | head -n 3 > $HOME/site/files/down.txt; top -b -n 1 > $HOME/site/files/top.txt" command entered in the crontab. This command writes two files every minute. The first file contains a report on the last server outages, and the second file contains the output of the "top" command.
About using this site as a template
First that you need is install OpenSSH Client optional feature for Windows(or use SSH Client for another system).

You need generate SSH key for your client by Run as Administrator command "ssh-keygen". By default, the system will save the keys to C:\Users\your_username/.ssh/id_rsa. Then you’ll be asked to enter a passphrase. You can set the passphrase or skip that step by hit Enter.
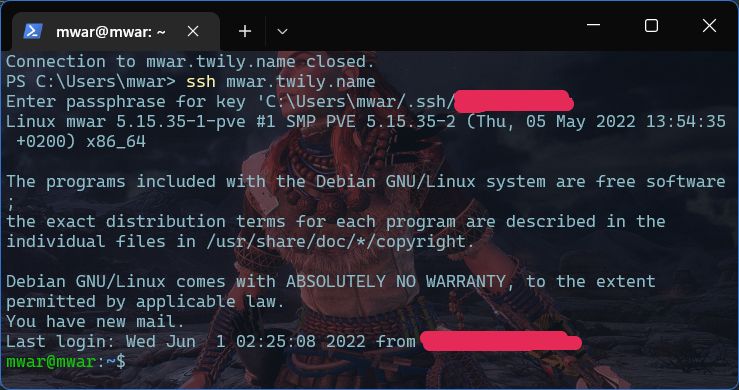
As a result, the Command Prompt or Terminal will display the the key fingerprint and a randomart image.
After all you should send the public key(C:\Users\your_username/.ssh/id_***.pub) to the server, and finally you can connect to server from your Windows PC.
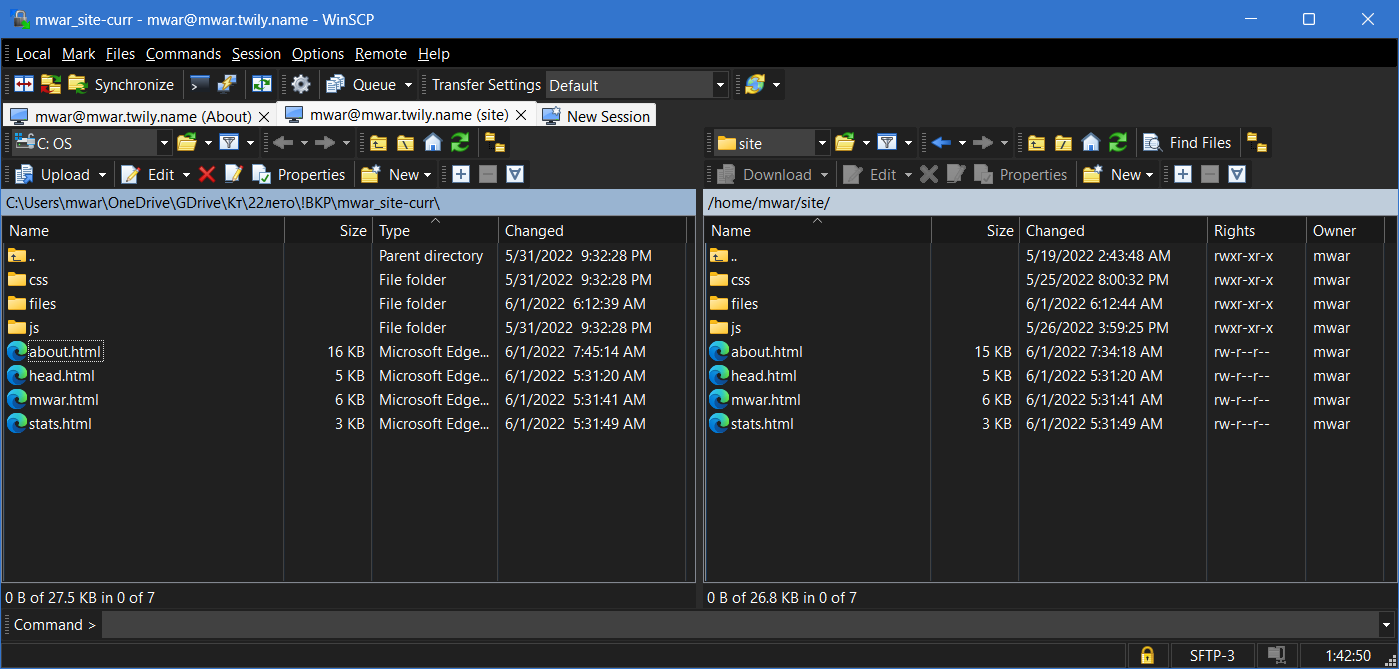
Also, for convenience, you can additionally use the SFTP-Client. My choice is WinSCP (first result in the search results). Setting it up is easy - the first time you connect, you just need to specify the server and add your public SSH key in PuTTY format (WinSCP creates the key itself, you just need to specify your regular .pub key). After that, you can use the SFTP client.